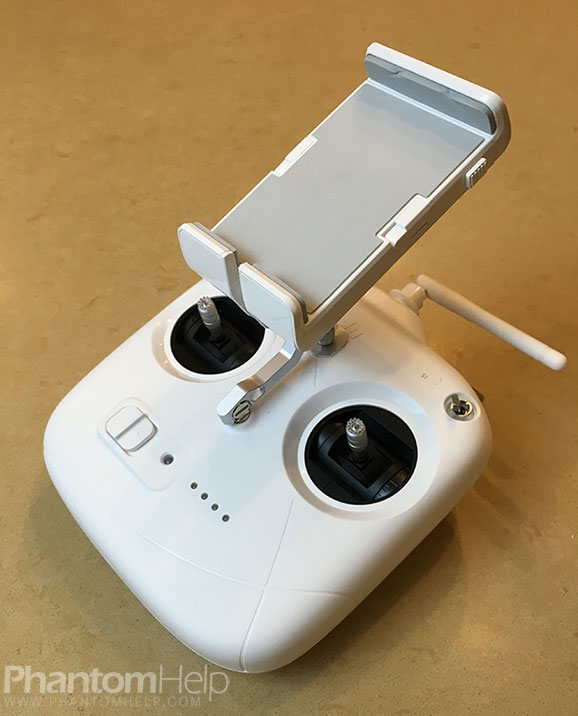
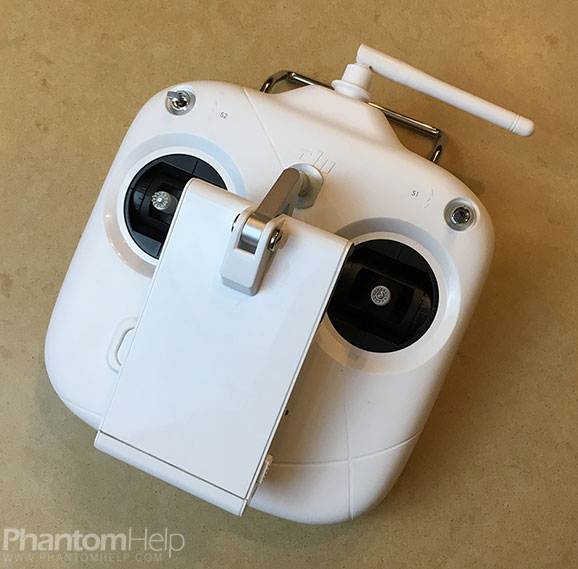
The Phantom 3 Standard comes with a remote controller clip that is only large enough to hold the average mobile phone. If you'd like to use a tablet instead, you'll need to install some kind of tablet mount on the remote controller. The Inspire 1 tablet mount is the most stable mount available and a great choice to ensure your tablet is safely and securely attached to the remote controller.
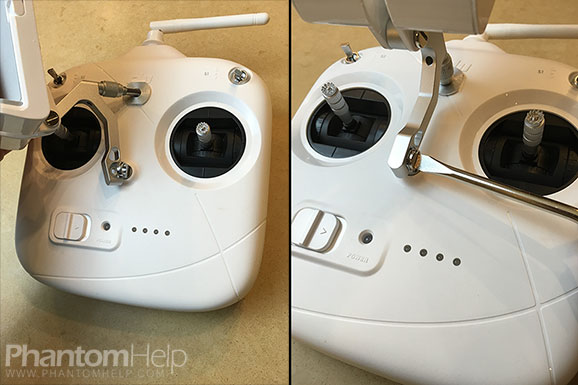
Use a Phillips screwdriver to remove the two screws from the base of the remote controller phone clip.
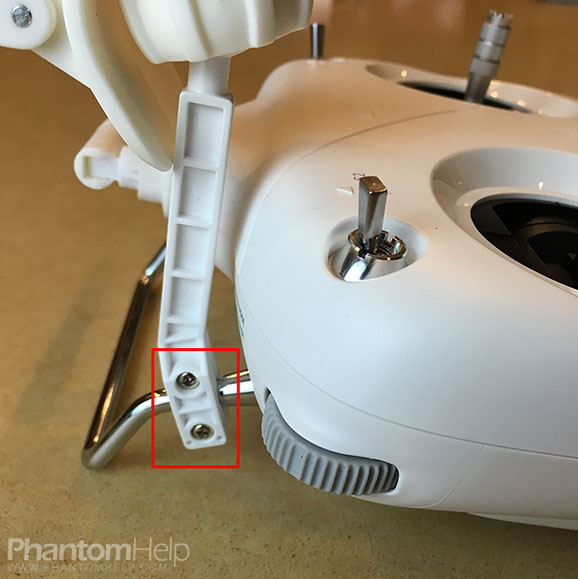
Gently bend the base of the clip down and away from the top of the remote controller -- and, it'll pop off.
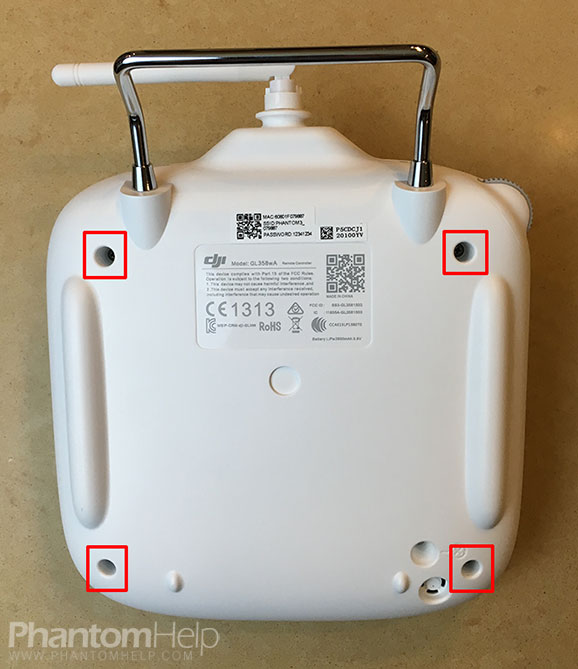
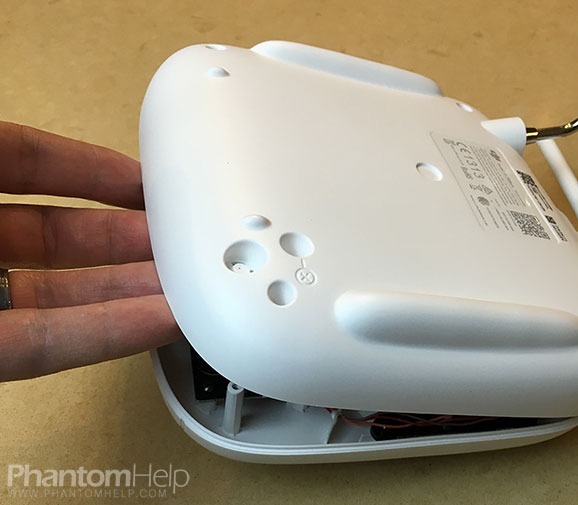
Place the remote controller face down on a sturdy surface and use a Phillips screwdriver to remove the four screws on the back of the remote controller.
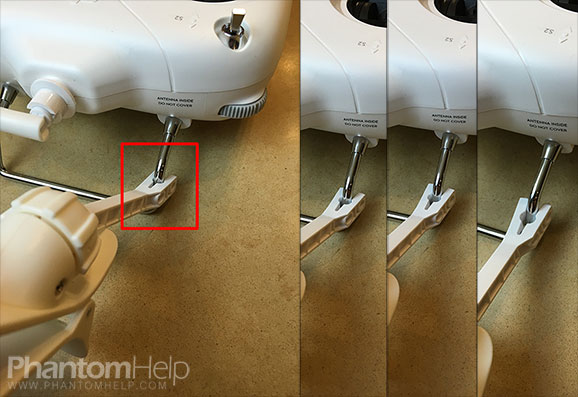
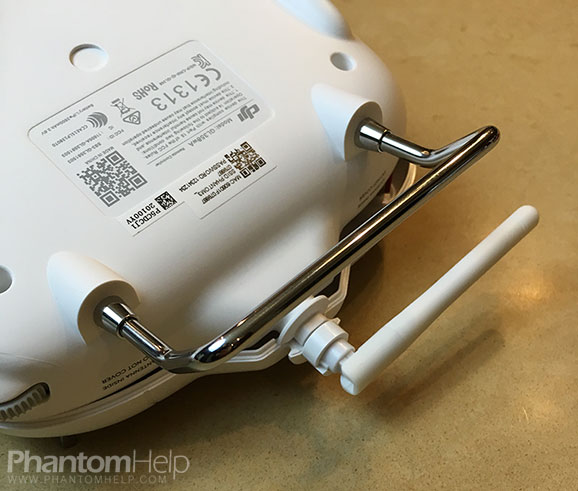
Gently pry open the bottom of the remote controller and raise it up to about a 45 degree angle. The top of the remote controller will remain attached to the antenna as you're doing this.
Gently slide the base of the remote controller away from the antenna. The base should slide out and away from the antenna and allow you to reveal the contents of the remote controller.
The cables should have enough slack to allow you to lay the base of the remote controller to the side.
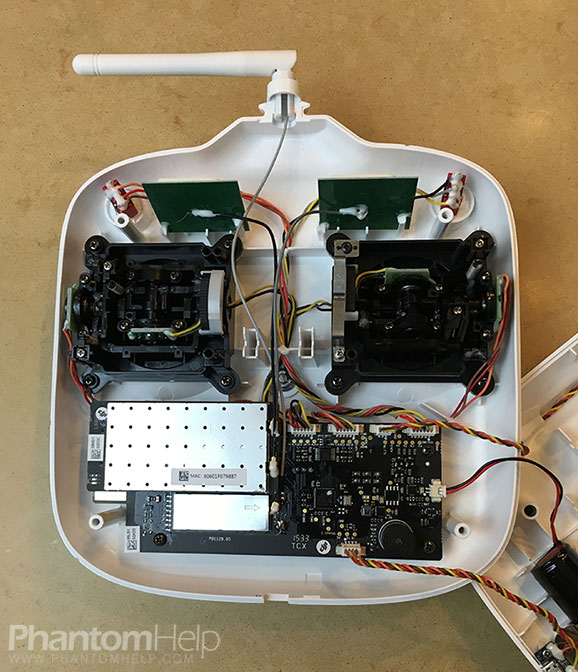
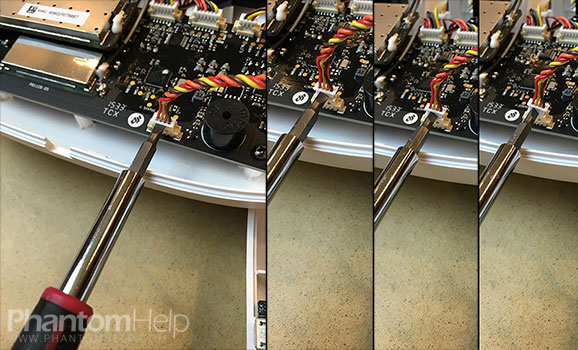
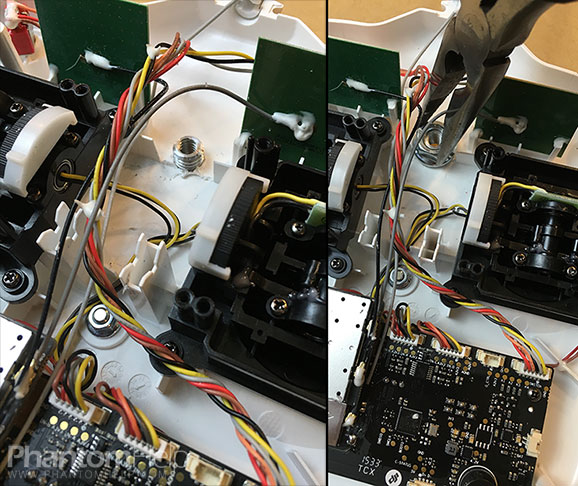
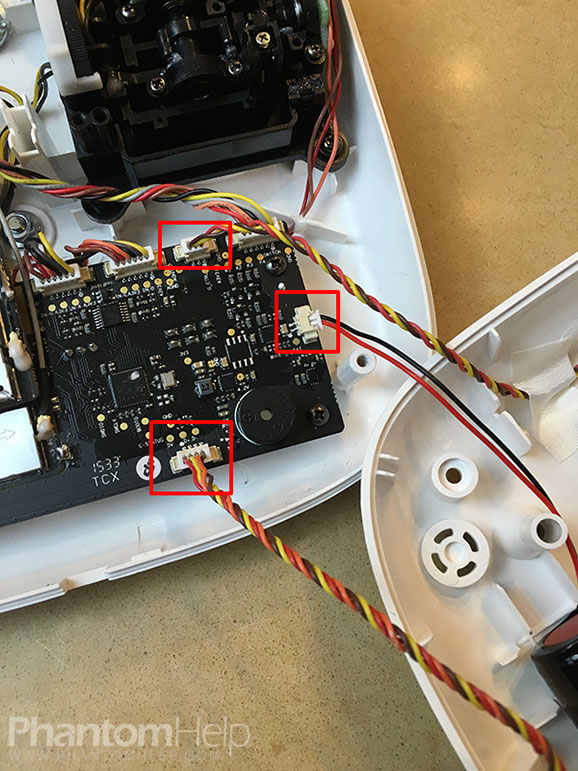
Disconnect the three cables connecting the top and bottom of the remote controller.
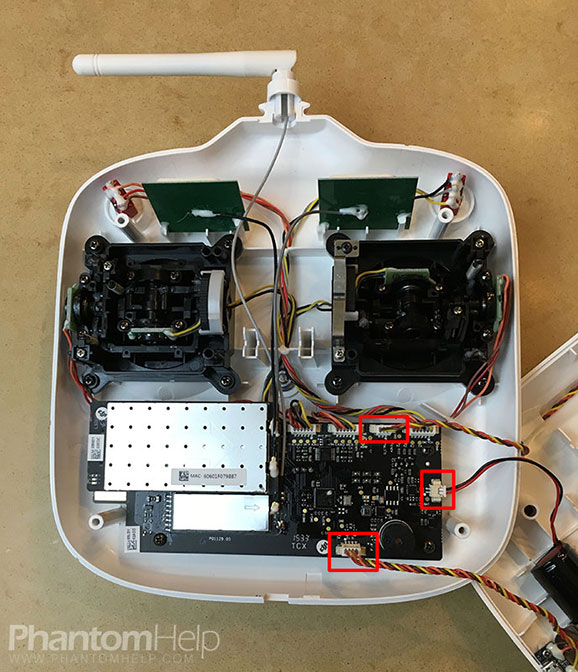
The cables can be easily removed by inserting a flat head screwdriver at the base of the cable and twisting the screwdriver at a 90 degree angle.
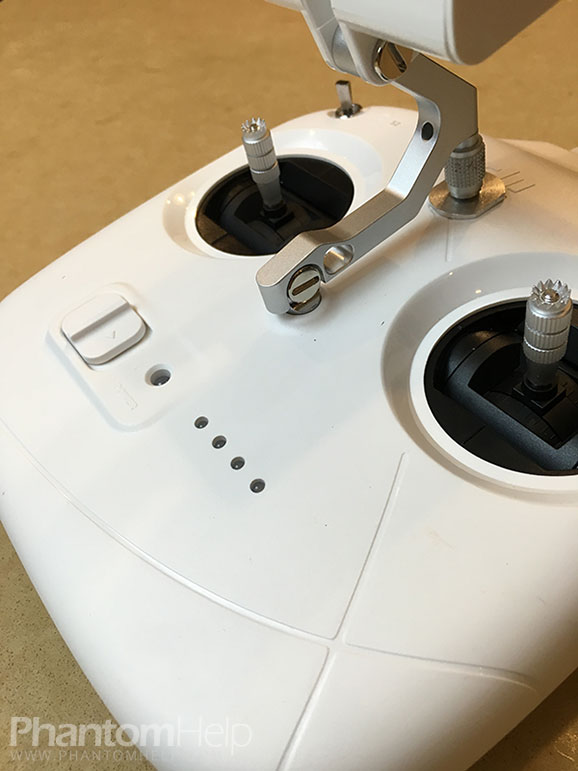
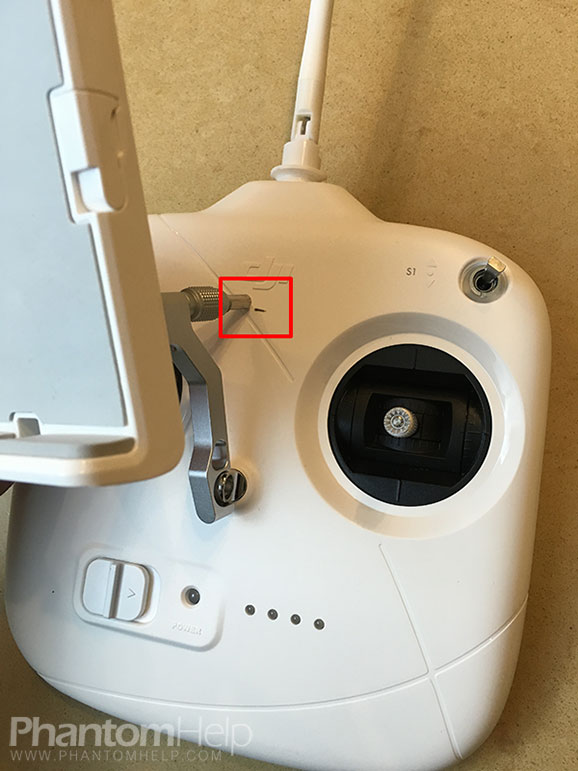
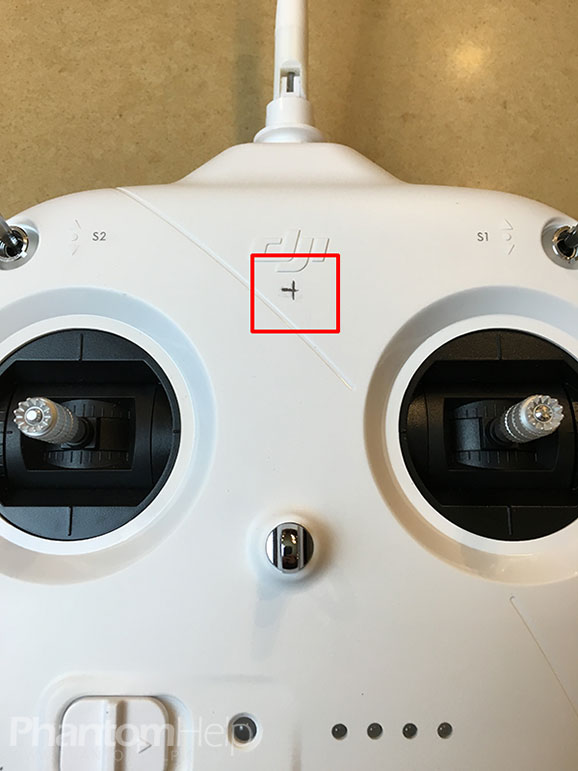
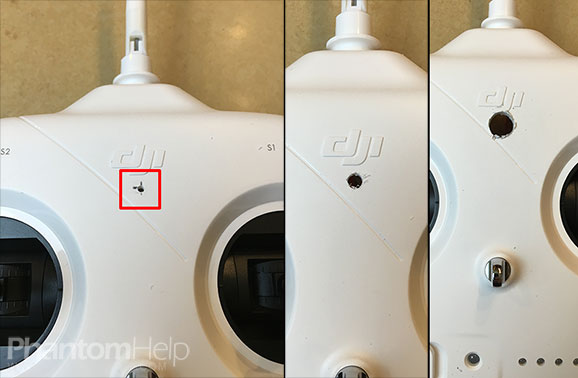
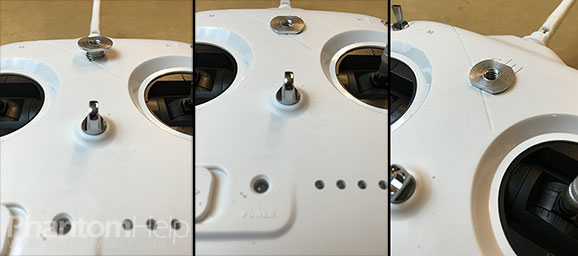
A 3/8" hole needs to be drilled into the remote controller so the threaded nut insert can be attached. Use a pencil to make a horizontal mark near the center of the remote controller where the mount arm meets the remote controller.
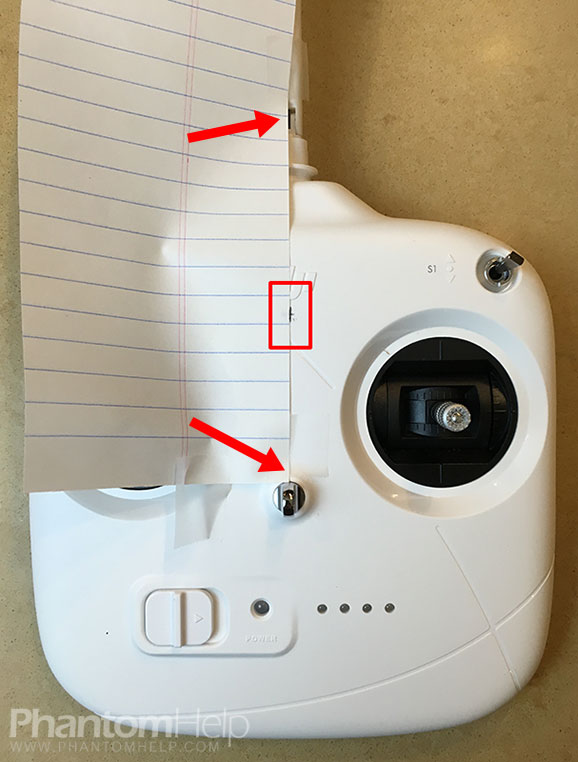
Use the straight edge of a sheet of notebook paper to find the center of the remote controller. Line up the paper with the center of the antenna and center of the remote controller strap hook. Then, draw a vertical line across your horizontal line.
The hole must be 3/8". It'll be easiest to start with a smaller pilot hole (5/64"). And, then inrease the size of the hole by gradually increasing the size of the drill bit (try 11/64", 5/16", and 3/8").
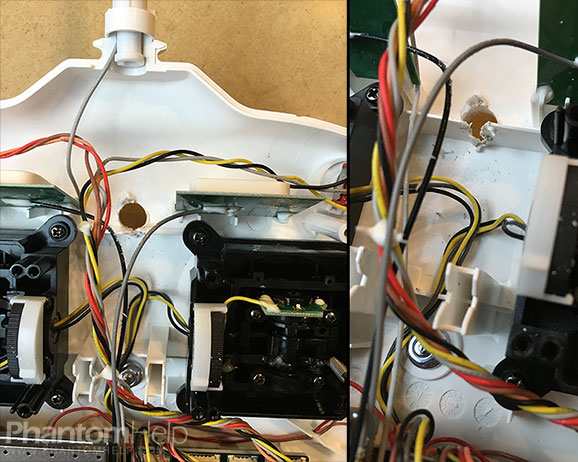
Use pliers or another sharp tool to cut away the plastic around the hole. You'll need enough room to fit the nut from the threaded nut insert.
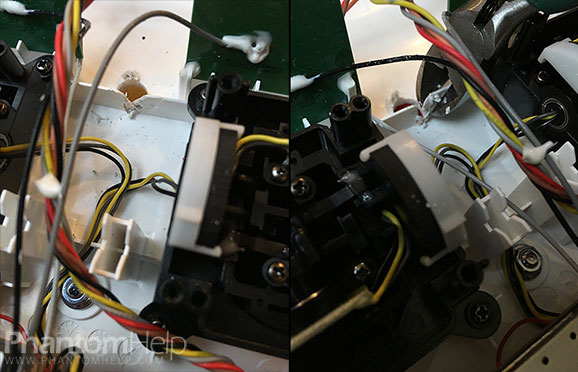
After cutting the sides of the plastic, you can bend them back and forth until they break off.
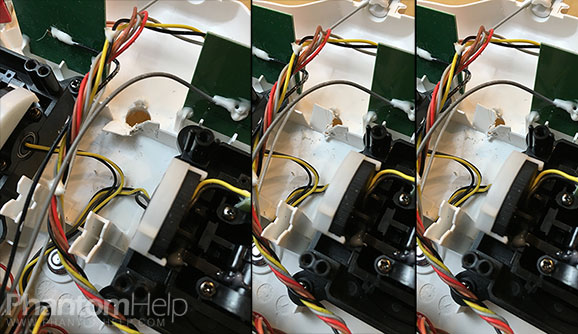
Insert the threaded section of the threaded nut insert into the top of the remote controller.
Hand-tighten the nut and use pliers to ensure the nut is threaded the whole way on.
Reattach the three cables that connect the top and bottom of the remote controller.
Close the remote controller by reversing the steps used to open it. And, reinstall the four screws on the back of the remote controller.
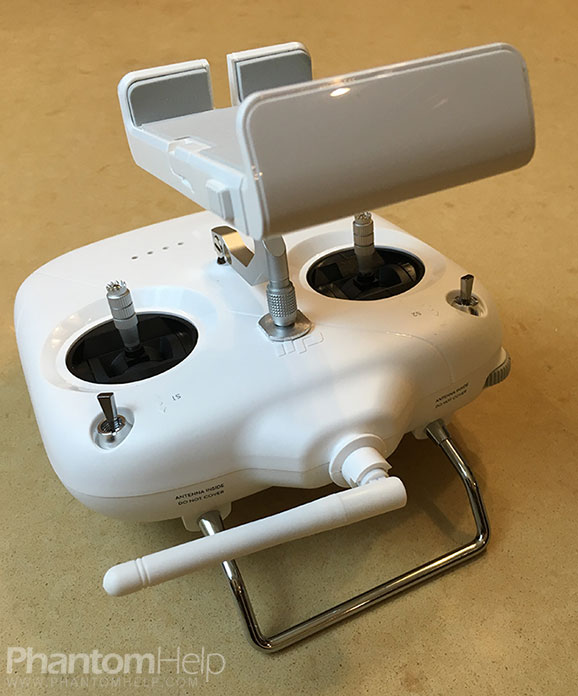
Slide the top of the tablet mount into the threaded nut insert and insert the screw into the bottom of the tablet mount to secure it.